
Blog
Sewing Swimsuit Binding in the Round: A Seamless Finish!
Jul
Ever struggled with getting that swimsuit binding just right, especially when sewing in the round? Let me tell you, I’ve been there! From leg holes to armholes to waistbands, getting a clean, professional finish on those curves can feel like threading a needle in the dark. But fear not, fellow sewists! I’m going to walk you through my favorite method for applying binding in the round, guaranteeing a finish that looks amazing both inside and out.
Why This Method Rocks
Before we dive in, let’s address the elephant in the room: Why not just sew the binding on flat and *then* sew the seam together? It sounds easier, right? Well, doing it that way often leaves you with bulky, visible seams on either the inside *or* outside of your garment. And honestly, who wants that? This method I’m about to share avoids those pesky seams altogether, giving you a smooth, professional look every time. I learned this little trick after countless experiments in my shop, Nightwear Studios, and trust me, it’s a game-changer for everything from cheeky bikini bottoms to supportive swimsuit tops.
What You’ll Need
- Your swimsuit project (or a scrap piece of fabric for practice!)
- Binding (the width depends on your pattern and preference)
- Sewing machine
- Scissors
- Thread
Let’s Get Sewing!
- Prep Your Opening: This is key. At the seam where you’ll be joining the binding (think: where your circle closes), clip into the fabric *right next to the seam*. The width of this clip should match the width of your binding. So, if your binding is 1/4 inch, clip in 1/4 inch. If it’s 1/2 inch, clip in 1/2 inch. Get it? Got it. Good.
- Apply the Binding: Now, apply the binding as you normally would, starting and stopping at that newly created open edge. If you’re unsure how to do this, check out my previous video on applying binding! It’ll give you all the deets.
- Join the Binding Ends: This is where the magic happens. Take the two open ends of your binding and stitch them together with right sides facing each other. It should look like a little loop.
- Trim and Taper: Once sewn, trim one side of the seam allowance down. Then, trim the other side *even shorter*. This helps reduce bulk.
- Fold and Secure: Fold the seam allowance down, preferably towards the back of the binding. Then, stitch it down to secure it. Alternatively, you could use a bar tack for extra reinforcement.
*Pro-Tip:* If you’re using a thicker binding, you might want to grade those seam allowances a bit more aggressively to avoid any lumps.
Finishing Touches
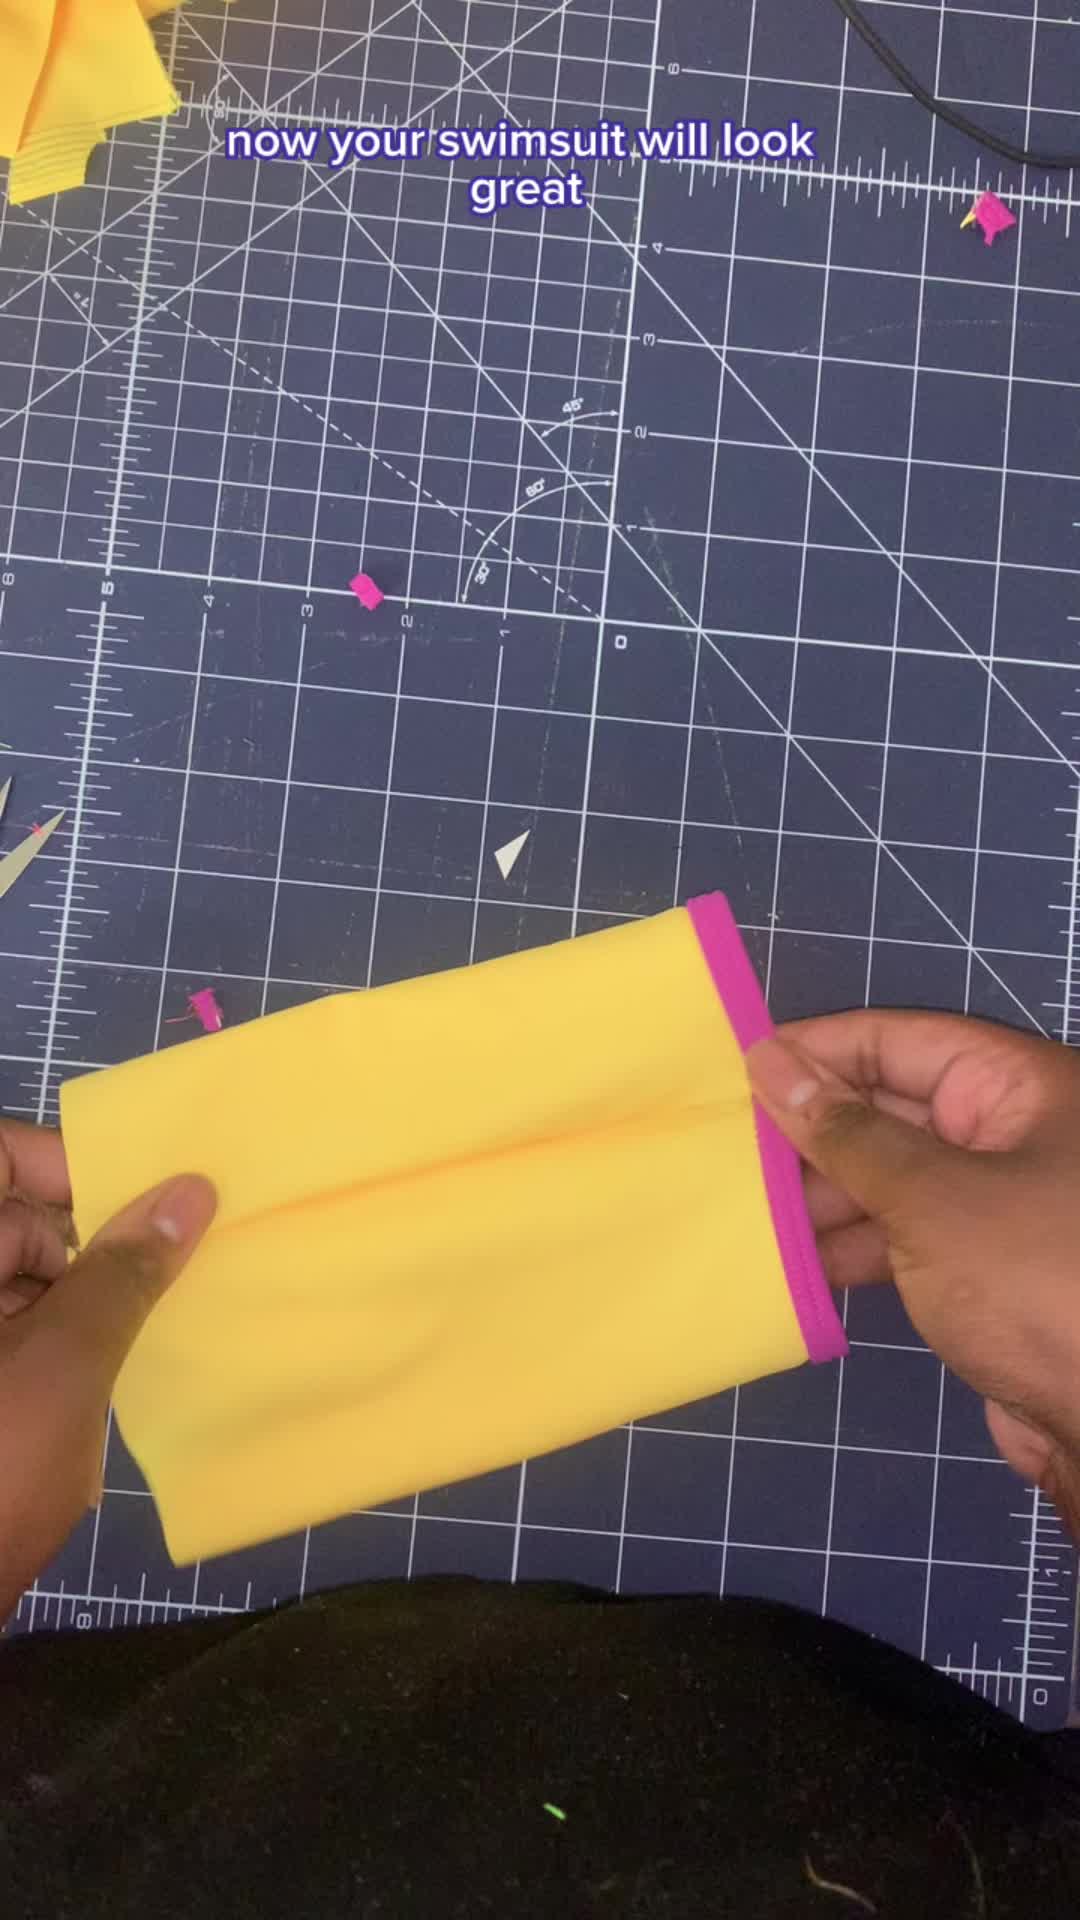
And there you have it! Your swimsuit binding should now be seamlessly joined, with no visible seams on the inside or outside. Give it a good press, admire your handiwork, and get ready to hit the beach (or the pool, or the bathtub – wherever you rock your swimwear!).
Why is this method a game-changer? Let’s recap:
- Seamless finish: No bulky, visible seams.
- Professional look: Your swimwear will look like it came straight from a boutique.
- Versatile: Works for leg holes, armholes, waistbands – you name it!
- Simple to follow: Even a beginner can master this technique.
- Boosts Confidence: Knowing your swimwear looks as good on the inside as it does on the outside makes you feel confident. As a small business owner, this is everything.
More Sewing Tips
Looking for more sewing tips and tricks? Check out my other videos for tutorials on everything from choosing the right fabrics to mastering tricky sewing techniques. And don’t forget to subscribe to my channel for regular updates!
Now go forth and create some amazing swimwear! And don’t forget to express yourself and creativity with clothing like these awesome graphic tees! https://whatwillwear.com/design-style/
Happy sewing! And remember, a little bit of practice goes a long way. Before you know it, you’ll be whipping up swimwear like a pro! And if you’re looking for more quirky and fun sewing projects, check out some of the cool designs inspired by pop culture: https://whatwillwear.com/pop-culture/ You might just find your next inspiration! If you want to add some humor and memes to your garments, click this link: https://whatwillwear.com/humor-meme/
So this is a part 2on how to apply binding to a swimsuit.In this video,I’m going to show you how to finish off the bindingwhen you’re sewing in the round.I’m just using a scrap piece of fabric for this,but you would use this on leg holesor arm holes or waistbands.What you’re gonna do is right at the seam,you’re gonna clip right next to itthe width of your binding.So if your bindings 1/4, clip in 1/4.If you’re binding 1/2 an inch,clip in 1/2 an inch.Then you’re gonna apply the binding as usualthe way that I demonstrated in the last video,starting and stopping at your now open edge.You might be thinking,why don’t I just sew the binding onwhen everything is flat,and then sew the crotch seamor side seam together after the fact?Doing it this way ensures that there are no visibleseams on the inside or outside.Once the binding is sewn on,you’re going to take your 2 open endsand stitch them together.With right sides together.It should look something like this.Once that’s done, trim away one sides seam allowanceand then trim the other seam allowancea little bit shorter.Then you’re gonna fold the seam allowance down,preferably towards the back,and then stitch down.You can also use 1bar tack in the situation,and then you’re all done.Now your swimsuit will look Greatfrom both the outside and the inside.Happy sewingvideo
Official Viral Turning Point Forever Charlie Kirk 1993 2025 Shirts
Official Viral Pray For Charlie Kirk Turning Point Shirts
Official Viral Charlie Kirk Freedom Under Fire Shirts
Premium Wedding Crashers Movie Holy S Pants 2025 Shirt