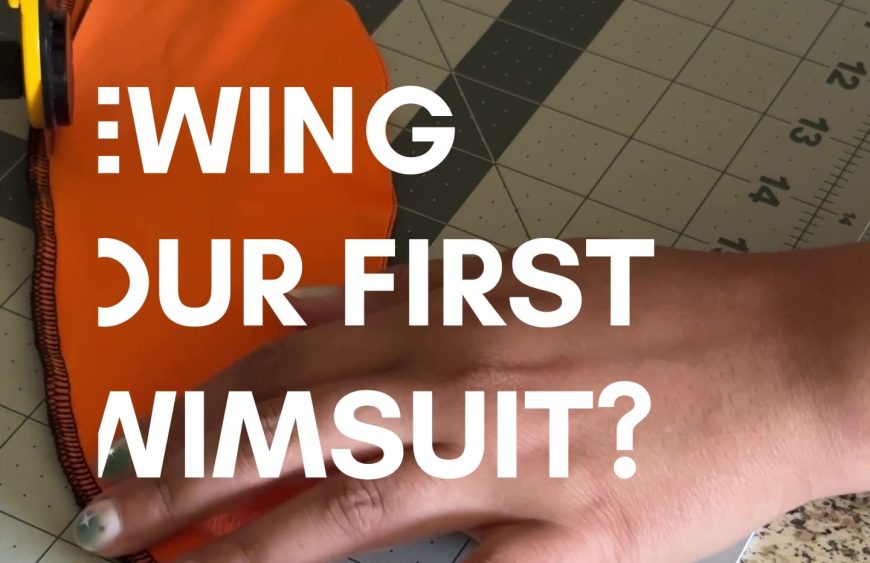
Hey there, sewists! Gabriela Sew here, ready to spill the tea on sewing swimsuits that *actually* hold up. Ever had that heart-stopping moment when you’re at the beach and hear a dreaded *rip*? Yeah, not fun. After countless trials, errors, and maybe a *few* tears (don’t judge!), I’ve cracked the code to sewing swimsuits that stay put. So, ditch the fear and let’s dive in!
My Go-To Sewing Machine Settings for Swimwear
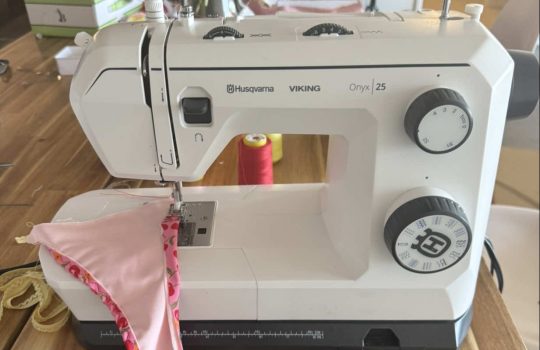
Okay, first things first: your sewing machine. It’s your partner in crime, so you gotta treat it right! These are the settings I swear by, and trust me, they’ll change your swimsuit-sewing game.
- Primary Keyword: Swimsuit Sewing
- Secondary Keywords: Sewing Machine Settings, Stretch Fabric, Swimwear Seams
- Needle Know-How: Forget your regular needle! You *need* a stretch or ballpoint needle. Seriously, it’s non-negotiable. Regular needles can skip stitches or even damage that delicate swimsuit fabric. Think of it like using the wrong tool for the job – you wouldn’t use a hammer to screw in a screw, right?
- Walking Foot (Maybe): This one’s optional, but honestly, it’s like having a sewing superhero on your side. A walking foot feeds those slippery, stretchy fabrics evenly, preventing those dreaded wavy seams. If you’re battling bunching and puckering, this is your secret weapon.
- Stitch Length Sweet Spot: We’re aiming for a 6x stitch, with the length set between 2 to 2.5, maybe even 3. Think of it as finding that Goldilocks zone – not too short, not too long, but *just* right.
- Width Wisdom: Set that width from 1.5 to 3 millimeters. Play around and see what works best for your fabric.
- Tension Tameness: Leave the tension at normal, usually around 3 or 4. Resist the urge to mess with it too much – trust the process!
The All-Important Test Seam
Before you go full speed ahead on your gorgeous swimsuit project, *please* do a quick test seam on a scrap of fabric. I cannot stress this enough! It’s like taste-testing a cake batter before baking the whole thing. This will allow you to check your tension and stitch quality. If your stitches look wonky or uneven, tweak your settings until they’re looking smooth and happy.
Troubleshooting Stitch Skipping: Been There, Done That!
Okay, let’s talk about that moment when your sewing machine starts acting like a rebellious teenager and skipping stitches. *Ugh.* It’s frustrating, I know. Here’s what I learned the hard way:
- Needle, Needle, Who’s Got the Needle? So, here’s a funny story: I was sewing away, stitches skipping like crazy, and I automatically blamed my walking foot. Switched it out, same problem. Turns out, the doll needle I’d been using for *years* was the culprit! I swapped it for a fresh, brand-new stretch needle, and BAM! Problem solved. Moral of the story? Start with the needle. It’s often the simplest solution.
Extra Tips & Tricks From a Seasoned Sewist
Okay, now that we’ve covered the basics, let’s add some sprinkles! Here are some extra tips I’ve picked up along the way:
- Fabric Finesse: Different swimsuit fabrics have different personalities. Some are super slippery, while others are more stable. Get to know your fabric before you start sewing. Try a few sample seams and adjust your settings accordingly.
- Practice Makes Progress: Don’t be afraid to experiment! Sewing is all about learning and growing. The more you practice, the better you’ll become. And remember, even the pros make mistakes.
- Embrace the Imperfections: No one’s perfect. Your swimsuit might have a few quirks or imperfections, and that’s okay! Embrace them and wear your creation with pride. It’s handmade, and that makes it special.
- Finishing Touches: Consider using a zig-zag stitch or a serger to finish the raw edges of your seams. This will prevent fraying and give your swimsuit a professional look.
- Inspired Look : For more trendy and cool ideas , check out this article about “What to Wear for the Eras Tour”.
You Got This!
Sewing your own swimsuit can seem intimidating, but trust me, it’s totally doable. There are going to be a lot of trial and errors, but we always learn something new. Save this post for your next bikini project, take a deep breath, and remember that you got this! I believe in you. Happy sewing!
Sewing your first swimsuit.Here are the settings I use on my sewing machine to sew swimsuitand seams don’t pop. Start with a stretch or ball point needle.Regular needles can skip stitches or damage the fabric.A walking foot. It’s optional but super helpful.It feeds the stretchy or slippery fabric evenlyand helps avoid wavy seams.And talking about stitches,you must use the 6 x stitch length should be 2 to 2.5 or 3.Set the width from 1.5 to 3 millimeters.Leave the tension normal as 3 or 4.It’s okay. Always do a quick test seam on scrapto check the tension and stitch quality.Since it was still skipping stitchesI changed the walking foot thinking it was thatbut then turns out noit it probably was the doll needle that I had for years.So I decided to change it to a new stretch needleand that worked perfectly.So if your stitches are still skipping then try changing the needle.That’s probably the problem.Save this for your next bikini project and remember that you got this!It’s okay! There’s a lot of trial and errors,but we always learn something new.video