Ever stared at a swimsuit and wondered how they get that clean, professional-looking edge? Well, friends, the answer is *binding*! And I’m here to spill the tea (or should I say, sunscreen?) on how to add it to your homemade swimsuit project. Trust me, once you nail this, your swimwear game will level up faster than you can say “cannonball!”
Now, I know what you’re thinking: “Binding? Sounds complicated!” But honestly, it’s way easier than trying to wrangle a toddler at a pool party. I’ve been doing this for my Nightwear Studios shop for ages, and I’m excited to share my go-to method. Ready? Let’s dive in!
Why Bother with Binding? (Spoiler: It’s Worth It!)
Before we get down to the nitty-gritty, let’s quickly chat about *why* you should bother with binding in the first place. Here are a few compelling reasons:
- Professional Finish: Binding gives your swimsuit that polished, store-bought look. No more amateur hour hems!
- Durability: It reinforces the edges, making your swimsuit more resistant to wear and tear (especially important if you’re like me and basically *live* in the water during summer).
- Comfort: Binding can create a smoother, more comfortable edge against your skin, preventing chafing and irritation. Nobody wants swimsuit-induced owies!
- Endless Customization: The possibilities are endless! You can use contrasting colors, fun patterns, or even different textures to create a truly unique look. Why blend in when you can stand out, right?
The Ultimate Swimsuit Binding How-To
Alright, enough chit-chat. Let’s get our hands dirty (or, you know, covered in fabric scraps!). Here’s my tried-and-true method for adding binding to a swimsuit:
- The Overlocker Zigzag Foundation
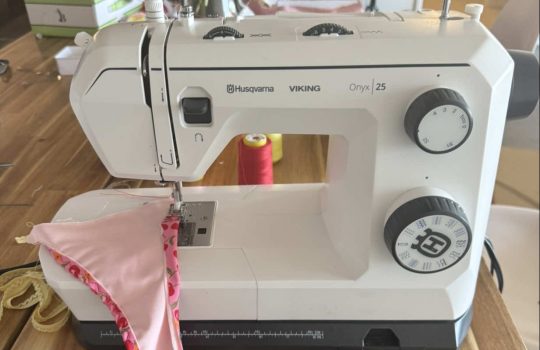
First things first, you’re gonna apply the binding to the edge of your fabric using an overlocker zigzag stitch. This creates a secure and flexible base for the rest of the process. Think of it as laying the groundwork for swimsuit success! If you don’t have an overlocker, a regular zigzag stitch will work in a pinch, but the overlocker gives you a cleaner finish.
- Elastic: The Secret Weapon
Next, layer elastic on top of the binding and stitch it in place. This is *crucial* for ensuring a snug and supportive fit. Nobody wants a swimsuit that sags or droops, am I right? Make sure your elastic is swimsuit-grade, meaning it’s chlorine-resistant. Otherwise, you might end up with a stretched-out, sad-looking swimsuit after just a few dips in the pool.
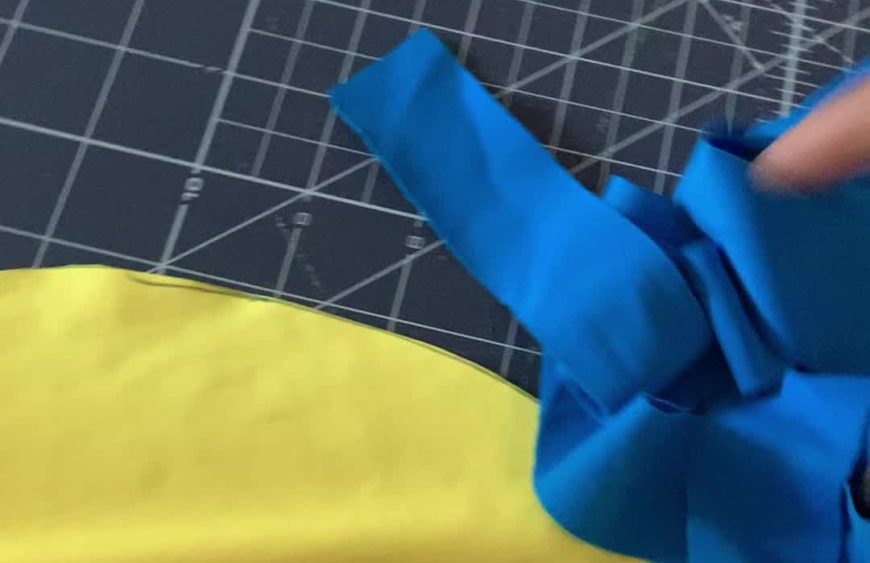
- Fold and Conquer
Now for the magic! Take the other side of the binding strip and fold it over to the back of the fabric. It should neatly encase the raw edge, creating a clean and finished look. This step is all about precision, so take your time and make sure everything is lined up properly.
- Stitch It All Down
Time to secure that binding! Take your project over to either a cover stitch machine (if you’re fancy!) or your good old zigzag machine. Carefully stitch everything down, making sure to catch both layers of the binding. A cover stitch machine gives you that super professional look, but a zigzag works just fine too! It is what I used when first starting my Nightwear Studios shop.
- Trim the Excess
Almost there! Once you’ve stitched everything down, take a pair of sharp scissors and carefully trim off any extra fabric that’s peeking out from the back. This ensures a clean and comfortable finish. Nobody wants scratchy bits rubbing against their skin!
Pro Tips for Swimsuit Binding Success
- Practice Makes Perfect: Don’t be discouraged if your first attempt isn’t perfect. Like anything else, binding takes practice. Grab some scrap fabric and experiment until you get the hang of it.
- Choose the Right Binding: There are tons of different types of binding out there, so make sure you choose one that’s appropriate for your project. Look for binding that’s specifically designed for swimwear, as it will be more durable and chlorine-resistant.
- Use Sharp Scissors: Dull scissors will make your life miserable. Invest in a good pair of sharp fabric scissors for clean and precise cuts.
- Don’t Be Afraid to Experiment: Once you’ve mastered the basics, don’t be afraid to get creative! Try using different colors, patterns, or textures to create a unique and eye-catching look. Maybe add a little *political social* flair.
Final Thoughts
So there you have it! My step-by-step guide to adding binding to your swimsuit. I hope this helps you create swimwear that’s both stylish and durable. Don’t be afraid to get creative and have fun with it! After all, sewing should be enjoyable, and there’s nothing quite like the satisfaction of creating something beautiful with your own two hands.
Now get out there and sew some amazing swimsuits! And don’t forget to tag me in your creations – I can’t wait to see what you come up with! Happy sewing, friends! You can check out some more *design style* tips here.
Keywords:
- Primary: Swimsuit Binding
- Secondary: Swimwear Sewing, Sewing Tutorial, DIY Swimsuit, Binding Technique
In this video,I’m going to Show You How to Add Bindingto the edge of Your Swimsuit.To start, apply the bindingto the edge of the fabric with an overlocker zigzag.Then on top of that,apply elastic.Once your elastic is on,you’re gonna take the other side of the binding stripand fold it over to the back.Should look something like this.Then you’re gonna take it over to eithera cover stitch machine or your zigzagand stitch everything down.Last thing that you need to do is trimoff any extra fabric that’s on the back,and then you’re all done.Try this out on your next swim projectand let us know how it goes.Happy sewing.video