Hey there, friend! Ever bought a dress you *loved* online, only to find it just didn’t fit quite right when it arrived? Maybe it’s a tad too big, leaving you feeling like you’re swimming in fabric instead of feeling fabulous. Trust me, you’re not alone! It’s a super common frustration. The good news is, with a few simple DIY tricks, you can tailor that dress to fit *you* perfectly and feel confident and amazing. We’re focusing on one key issue today: dresses that are too big, and how to bring them in without needing a professional tailor.
Finding Your Perfect Fit: Simple Solutions for a Too-Big Dress
So, you’ve got a dress that’s a little (or maybe a lot!) too roomy. Don’t despair! There are several easy fixes you can try before consigning it to the back of your closet. The goal here isn’t perfection, but to make the dress feel more *you*.
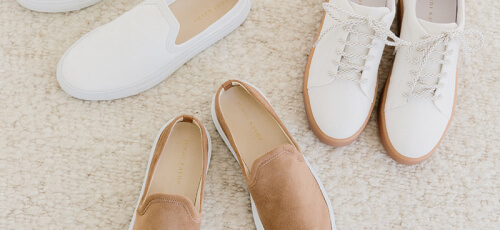
- The Belted Wonder: This is the easiest and quickest fix. A stylish belt instantly cinches in the waist, creating a more defined silhouette. Experiment with different widths, colors, and textures to see what works best with your dress. A wide belt can add drama, while a thin belt can provide a subtle adjustment. Think about materials too, check out some Design Style to get some ideas.
- Strategic Pinning: For a temporary fix, or to get a better idea of how you want to permanently alter the dress, try pinning. Pinning darts in the back or sides can take in excess fabric and create a more fitted shape. Just be sure to use safety pins and avoid poking yourself! This is especially helpful if you’re unsure about sewing. This is a common thing that I do when I buy from online stores. In fact, I bought my party dress from FashionNova a couple of years ago for just $35, and because it was a bit loose, I used pinning to see the exact shape that I want.
- Adding Darts: This is a slightly more involved but still manageable DIY project. Darts are small, tapered folds of fabric that are sewn to create shape. They are particularly useful for taking in excess fabric at the bust or waist. There are tons of tutorials online that walk you through the process step-by-step.
- Bust Support Upgrade: One clever trick, particularly for dresses with a looser bodice, is to add bra cups or supportive lining. This can fill out the bust area and prevent the dress from looking too baggy. I once bought a gorgeous vintage dress from a thrift store for just $10, but the bust area was too large. I added bra cups, and it made all the difference! They sell these at most fabric stores and even online.
Focusing on the Bust: A DIY Backup Solution
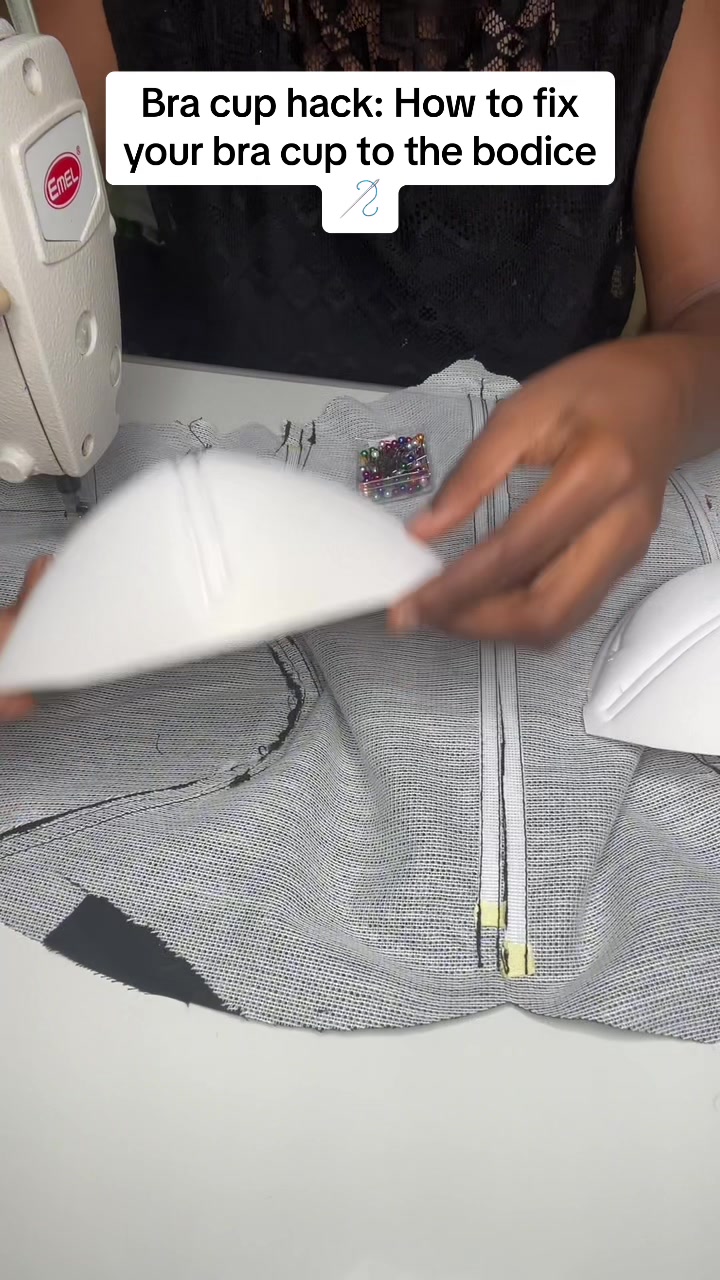
I also saw a cool video with a great tip for adding extra support directly into your dress using bra cups. This is especially useful if the bust area of your dress feels too loose or doesn’t offer enough support.
Here’s the gist of the backup trick:
- Lining is Key: If possible, attach the bra cups to the lining of the dress rather than the main fabric. This will give a cleaner, more professional finish.
- Placement is Everything: Position the bra cups carefully, ensuring they are evenly spaced and aligned with your natural bust line. It might be helpful to try on the dress and mark the desired placement with pins. Remember, the side of the bust needs to be fuller.
- Pin First, Sew Second: Secure the bra cups with pins before sewing them in place. This allows you to make any necessary adjustments before committing to the final placement. Make sure the pins are neat and there’s no fold on the bracket.
- Under Bust and Side Front is a MUST: Sew the bra cups along the under bust and side front. The video narrator emphasized that you should not sew the center.
- Repeat: Repeat the process on the other side, making sure the placement is symmetrical.
Simple Sewing for a Perfect Fit
Okay, so maybe the word “sewing” just sent shivers down your spine. I get it! Sewing can seem intimidating. But honestly, some basic hand-sewing skills can be a game-changer when it comes to making your clothes fit better. Here are a few things to keep in mind:
- Start Small: Don’t try to tackle a complicated alteration on your first try. Practice on scrap fabric first.
- YouTube is Your Friend: There are countless videos online that demonstrate basic sewing techniques. Find a few that you like and follow along step-by-step.
- Don’t Be Afraid to Undo: Everyone makes mistakes! If you mess up a stitch, simply undo it and try again.
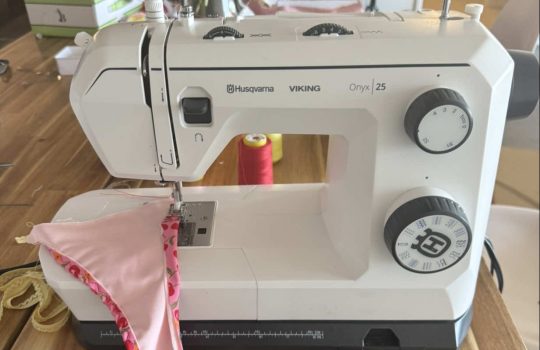
- Good Tools Make a Difference: A comfortable needle, sharp scissors, and quality thread can make the sewing process much more enjoyable. I got my sewing kit at Joann Fabrics for around $20, and it has everything I need for basic repairs and alterations.
- Safety First: Be careful when using needles and scissors!
Remember to Consider
- Fabric Matters: Some fabrics are easier to work with than others. Stretchy fabrics like knits can be more forgiving than woven fabrics like silk or linen.
- The Overall Style: Consider the overall style of the dress when making alterations. You don’t want to change the shape of the dress so much that it no longer reflects its original design.
Confidence is the Best Accessory
Ultimately, the most important thing is how you *feel* in your clothes. If you feel confident and comfortable, you’ll radiate beauty, no matter what the size on the label says. Experiment with different styles, find what makes you feel good, and don’t be afraid to break the “rules.” Feel free to check out the latest Pop Culture style.
So, go forth and conquer those ill-fitting dresses! With a little creativity and a few simple DIY techniques, you can transform them into garments that celebrate your unique beauty and make you feel absolutely amazing. Happy styling!
Hello everyone.So if you ask us to fix the backup,I just don’t know howthis is the video showing you how to fix the backupon the dress.So I prefer to fix my own backup on the lining, right?I don’t like to do it on the main fabric.Also you’re going to place itexactly like I’m doing in this video.Place it exactly like I’m doing in this video.Then the side of the bust is fuller than the center.So you’re going to move the bracket closer to the left,right to the side frontyou pin then you also pin the centre front right?You guys notice that I pin twice in this videois because there was crease.So make sure you pin yoursthat there’s no crease,make sure it’s neatand there’s no food at all on that bracket.And also you’re going to sew this on the under boastand the side fromyou are not showing the center at all.You are not showing the center at all.So you’re going to repeat the processon the other boast area rights.You just repeat the process there.K needs, making needs and wayI don’t this wayI supposed to havethis is just what you’re supposed to havefor illustration purposes.I’m going to put it on my body.Now the neck of this one is very high.Yours does not have to be this high, right?Let me know if you learn something newand if you agree to try it out. Bye bye.video